How to Pack a Backpack
Struggling to figure out how to cram all that stuff into your backpack? I can relate. People often asked me how I can pack a year’s worth of stuff into a small backpack that was carry on size… Seriously? Yes! Truth is, what you can pack for a two week trip you pack for a 12 month trip. But space is still an issue, no matter what size backpack you’re bringing along. So, here are some tips and tricks to packing like a champion and maximizing the amount of room in your backpack…
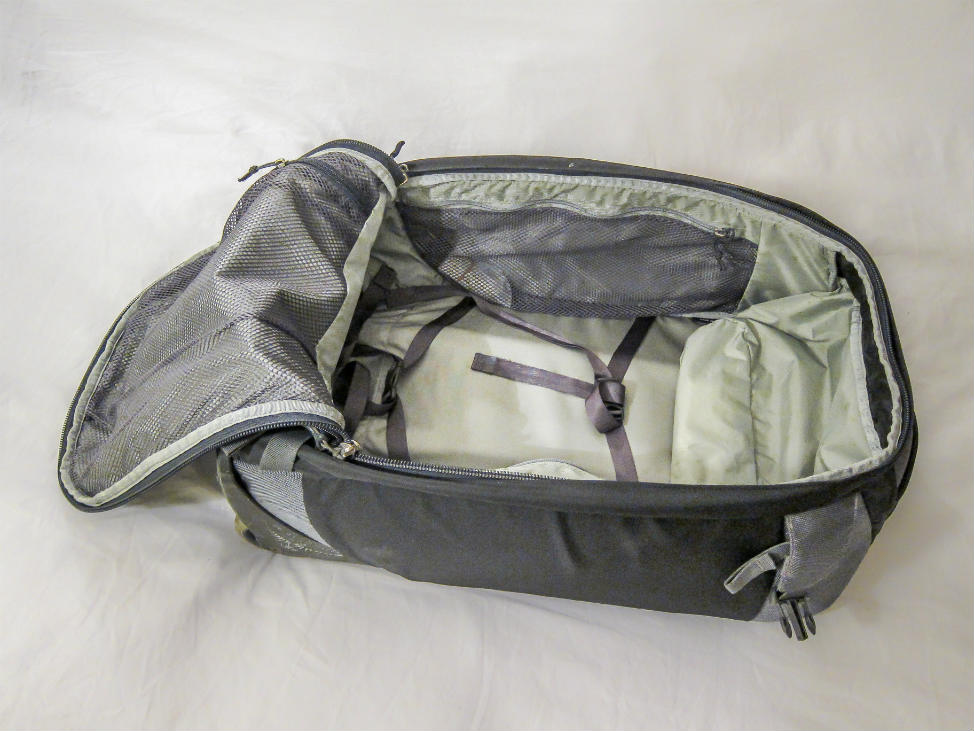
Yes, this is my backpack and it really is that small… It forces me to pack smart but is worth it as it’s small enough to be carry on size on the plane and keeps the weight down.
First off, gather up everything you think you need and lay it out on a bed.
Got that part done? Great, now get rid of half the items you’ve laid out!! What? Are you crazy? Yes, this is the hard part…. Just remember, there isn’t much you can bring from home that you won’t be able to find while traveling in other countries. Plus, you will quickly realize you didn’t need half the outfits you were planning on bringing. If you are struggling with this, see my post on My Full RTW Packing List (I’ll soon be adding a new post as to the essentials to bring along and what can be left back home).
Next up, lets think of your backpack contents as a series of layers as this is the method in which you’ll pack…
But before you start that layering process, start by rolling up all your clothes possible. Roll up as many clothes as you can unless they are too stiff to roll such as bulky or stiff items such as a thick jacket or coat. You can fold these up instead of rolling since this will be more manageable. This could also include dressier items such as collared shirts though I wouldn’t imagine you’ll be bringing along too many dressy type garments unless you plan to travel for a short time only.
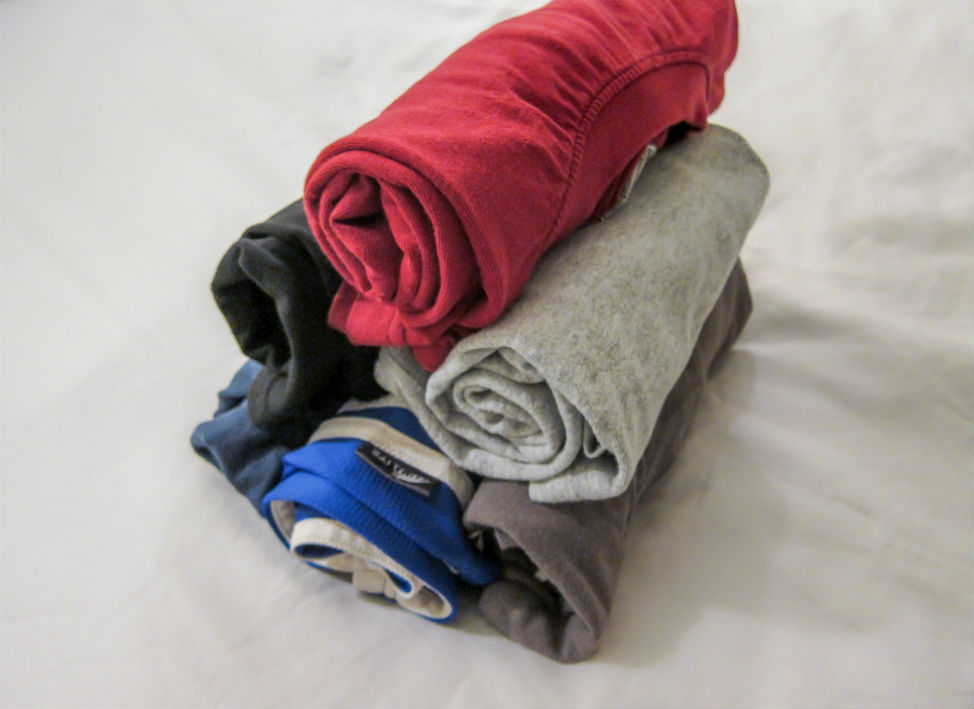
Roll up everything you possibly can!
OK, so now you are ready to start your backpack layers
Layer 1
On the bottom of your pack, take your extra shoes you’re bringing along and pack them with as many socks and underwear that will fit inside each. Feel weird about cramming them in there due to the fact these are your shoes? Easy… put them inside a nifty shoe bag to keep a nice layer of protection between the two. You can also put your shoes in the same type bag as well to keep the soles of the shoes from touching anything else.
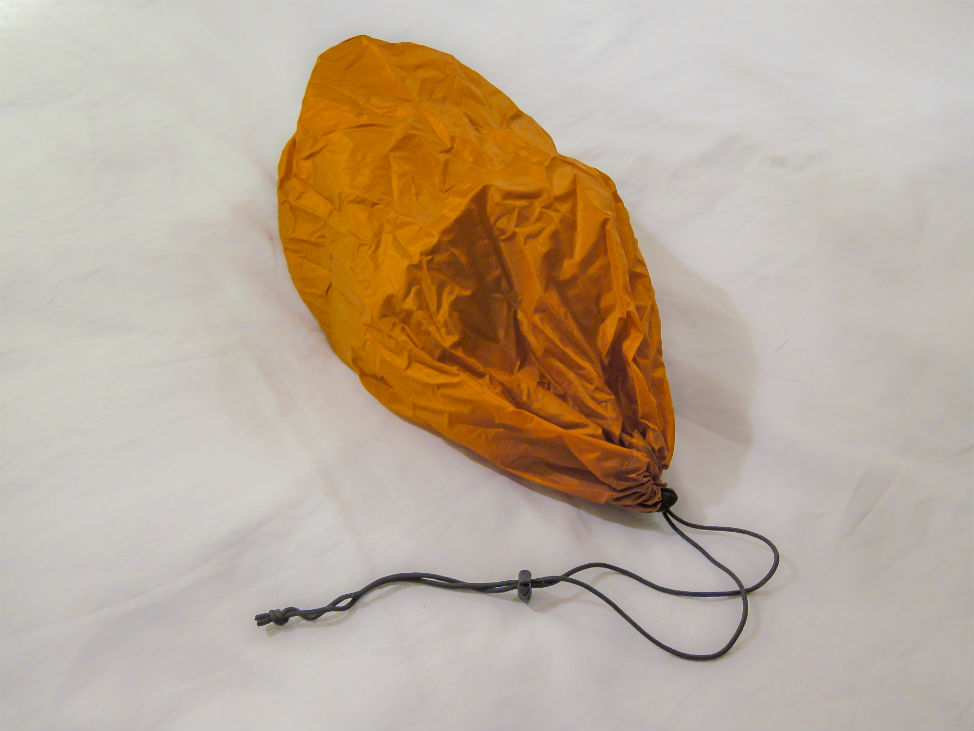
One crumpled up little shoe bag with a pair of shoes hiding inside… These bags are also very handy for dirty laundry and other other gross items you don’t want co-mingling with the other stuff in your backpack!
Layer 2
Next up are any larger rolled up items such as jeans or something similar that are large and bulky. You’ll want to wedge these on top of your shoes or between them so that everything stays put.
Layer 3
Next up are your fragile items. Typically you won’t have near as many fragile items at the start of your trip as you will once you start traveling after having bought gifts and souvenirs that are susceptible to damage. These you’ll want to place in the middle of your bag on top of your clothes from Layer 2. It’s even better if you’ve brought along a hard pack plastic case to fit these items in. (Think of a type of small ‘Tupperware’ case that is strong, small and lightweight). The link I provided is just an example of the type I brought along that helped me out tremendously.
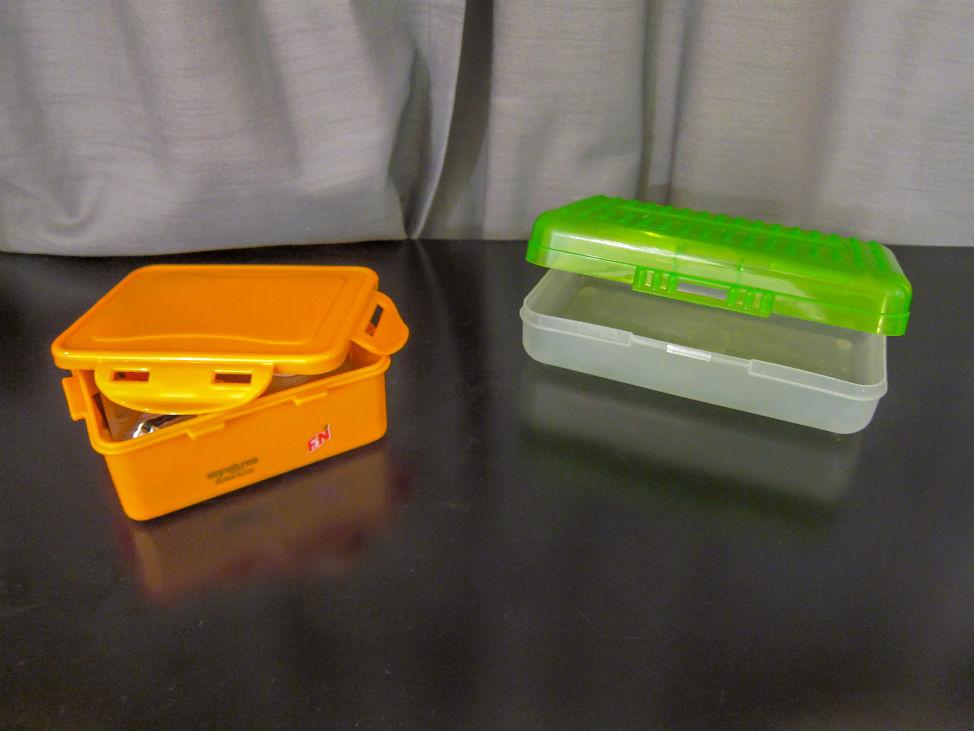
Handy little plastic cases you can keep in your backpack. They’re lightweight and will both protect and help organize all the little extras you may bring along like a small flashlight, first aid kit, souvenirs, etc.
Layer 4
What comes next is all your main clothing you’ll be bringing such as shirts, pants, additional underwear and such. All of them should be rolled and fitted on top of all else so far. And because these are more day to day type items, you’ll have easier and quicker access to them with them nearer to the top of your backpack.
Layer 5
Ok, so now you’ve arrived at what’s left in the clothing department… any additional socks, belts, hats, etc. These simply need to find a home in all the little nooks and crannies of what’s left for space in the bag. And trust me, there’s always room for that extra pair of socks! As for any extra belts you have that you aren’t already wearing, you can snake it around the outer perimeter of all your clothes as it can always find the space it needs.
Layer 6
For the final layer, you’ll need to find a home for your toiletries bag. Unless you will be traveling with an additional daypack and prefer to keep your toiletries bag in it (like I did when traveling) then you can put this bag on the top layer of your main backpack for the easiest access. It’s also recommended at the top because this bag just doesn’t’ pack well anywhere else. I would strongly recommend getting a proper toiletries bag that is wide and flat and one that has a hook on it. The one I took was perfect for its size, capacity, organization and had an awesome retractable hook since so many places I’d been lacked anything in the room for my stuff to sit or hang on. You can always find a doorknob or shower head to hang this bag on!
*As an additional option for your toiletries bag, you can also attach it to the outside of your backpack if it has that capability. Its a great way to create extra room and is also great when having to go through security checkpoints since they’ll be checking this and you’ll need quick access to it.
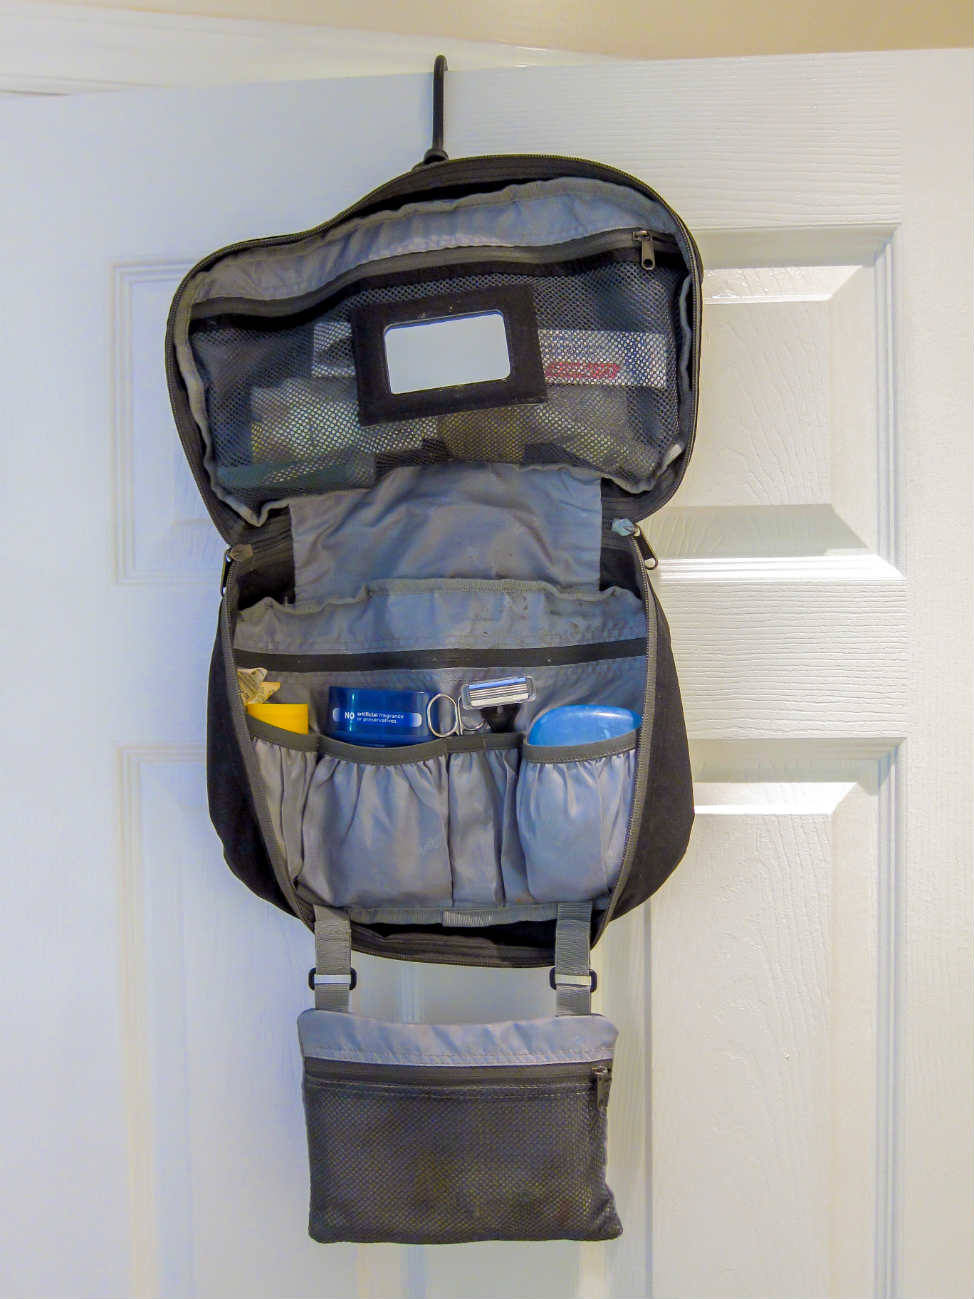
This is the toiletries bag I’ve taken with me everywhere. Once full, its does a great job of packing flat but the hook comes in handy on a weekly basis since it never seems to fail that some showers I’m in have absolutely nothing to hang or place my stuff on the wall! Ever taken a shower with soap in one hand and shampoo in the other? Doesn’t leave much room for scrubbing!
Here are some other things to consider for your backpack
Use ‘crush-able’ backpacks or duffel bags instead of hard suitcases. Most backpacks won’t be hard cased however for those that want to bring along suitcases, crush-able ones will be much lighter and more efficient with its use of space as it can expand when needed or contract when not much is inside them. If having wheels on your luggage or backpack is of concern, don’t worry, as many come with wheels without having to use a hard suitcase. Need help deciding what type of backpack to take? Check out this article on How to Pick a Backpack…
If you’re able to wear your bulky items that take up the most space in your pack, do that. Its not always feasible if you’re still lugging around a heavy jacket and now you’ve made it to the beach but if you can, it’ll help out every time. Another option is to simply carry that item or strap it to the outside of your backpack. Use this same strategy for your bulkiest shoes.
Find out how much your bag weighs before you arrive to the airport. There is nothing worse than getting to the airport and realizing your backpack or suitcase weighs more than their allowed limit. This means you either have to pay a hefty fee or you have to decide which items to toss away.
Lastly, think about the clothes you may need quickest. You can always put these things on the very top for quick and easy access. I normally would do this when on a train or bus where I knew I wouldn’t be able to unpack my full backpack but instead, may just need a jacket, pair of socks or a long sleeve shirt.
So that’s it! Get packing! And remember, if you can’t fit it all into your pack, you may need to rethink what you’re taking. For any trip longer than two weeks, you’re sure to regret lugging around that extra weight especially when you end up carrying things you aren’t using on a regular basis. I’ve been there, trust me on this one… Hopefully, you’ll be packed and off on your travels in no time…
If this article has helped you or you have more questions, I’d be glad to hear from you!



2 Comments... Join the conversation below
Great tips! I have taken a couple of extend trips for 2-3 months and less is more, I use a carry-on with wheels that will also convert to a backpack. My dilemma has been where to put all of my treasures(aka Christmas gifts for family and friends) I purchased along the way. My solution, I purchase an additional small back pack and try to purchase gifts on my last couple of stops. When I pack for my trip home, I leave all my clothes and put my treasures in my bag. I tend to take clothes I purchased from Target or Kohls, good stuff for the trip and fairly inexpensive but after wearing the same three pairs of pants for three months, I am ready to donate them to a local charity. I have left clothes from southern Spain to Indonesia. Many times when I board the plane back home, I literally only have the clothes on my back.
Hi Jean, thanks for the feedback! I have tended to do the same as I travel with the same type of backpack. It’s always easier to purchase things at the ending of a long trip so you don’t get stuck lugging them around. I actually have made a few shipments back home but was always the cheaper method, by boat and one package coming from Nepal actually took almost 2 months! Great tip on donating the last bit of clothes before the return flight. Definitely a great way to make extra room, thanks for the share!